
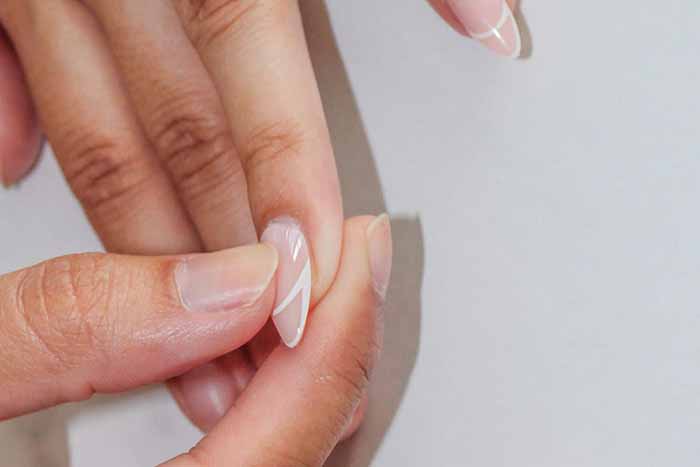
I remember the first time I tried press-on nails. I was sixteen, heading to a school formal, and I bought a cheap drugstore set that popped off within hours. I swore off them for years, assuming they were all flimsy and temporary. Then, a few years ago, a friend showed me her press-on collection—dozens of sets, each worn multiple times, looking every bit as good as a salon manicure.
That changed my perspective entirely. Press-on nails have evolved dramatically. Today’s versions are made from high-quality materials, designed by professionals, and offer a damage-free alternative to gels and acrylics.
Here is everything I have learned about choosing, wearing, and reusing press-on nails.
Why Choose Press-On Nails?
The most obvious advantage is convenience. A full set of press-ons takes five to ten minutes to apply, compared to an hour or more for salon gels or acrylics. There is no drying time—no waiting for polish to set, no worrying about smudging. You can put them on just before an event and remove them just as quickly.
They are also significantly more affordable. A premium press-on set costs about $10-20 and can be reused multiple times. A salon gel manicure can cost $40-60, and acrylics can be even more. Over a year, the savings are substantial.
Press-ons are also healthier for your natural nails. Unlike acrylics, which require filing of the natural nail surface, and gels, which involve harsh chemicals and UV exposure, press-ons are applied with gentle adhesives and removed without drilling or soaking in acetone. Your natural nails remain intact and undamaged.
Finally, they offer incredible variety. You can own a dozen different sets—classic nudes, bold neons, intricate patterns—and change them as often as your mood. No commitment, no salon visit.
How to Make Press-On Nails Reusable
The key to reusing press-ons is proper removal and storage. Never peel them off. Peeling pulls layers off your natural nail and can warp or damage the press-on itself.
Removal: Instead of peeling, soak your nails in warm, soapy water for a few minutes. This softens the adhesive tabs. Gently lift the edge with a wooden stick, working it loose from the cuticle toward the tip. If you use nail glue, soak in warm water with a few drops of oil for 10-15 minutes.
Cleaning: After removal, gently wipe any remaining adhesive residue from the inside of the press-on using a cotton pad and rubbing alcohol. Do not soak the press-ons in acetone, which can damage or warp them.
Storage: Store your press-ons in their original packaging or a dedicated case. This keeps them organised and prevents them from bending or breaking. Label sets by colour or style so you can find them easily.
Press-Ons vs. Gel and Acrylic: The Key Differences
Press-ons are pre-shaped and pre-designed. You simply apply them with adhesive and go. There is no lamp, no mixing, no filing. Gels and acrylics, by contrast, are liquid or powder products applied to the natural nail and shaped by a technician, requiring time, skill, and specialised equipment.
The impact on natural nails is another major difference. Press-ons are easily removed without damage. Gels and acrylics require filing and acetone soaking, which can weaken the natural nail plate over time. Acrylics, in particular, are rigid and can cause stress fractures if they snag or bend. Press-ons are flexible and absorb impact differently, so your natural nail is less likely to break underneath.
The longevity of press-ons depends on the adhesive and how well you care for them, lasting anywhere from a few days to two weeks. Gels and acrylics can last two to four weeks with proper maintenance but require fills as your nails grow. Press-ons, on the other hand, are removable whenever you choose.
How to Apply Press-On Nails Correctly
Proper application is the difference between a set that lasts days and one that lasts hours. Here is the correct method.
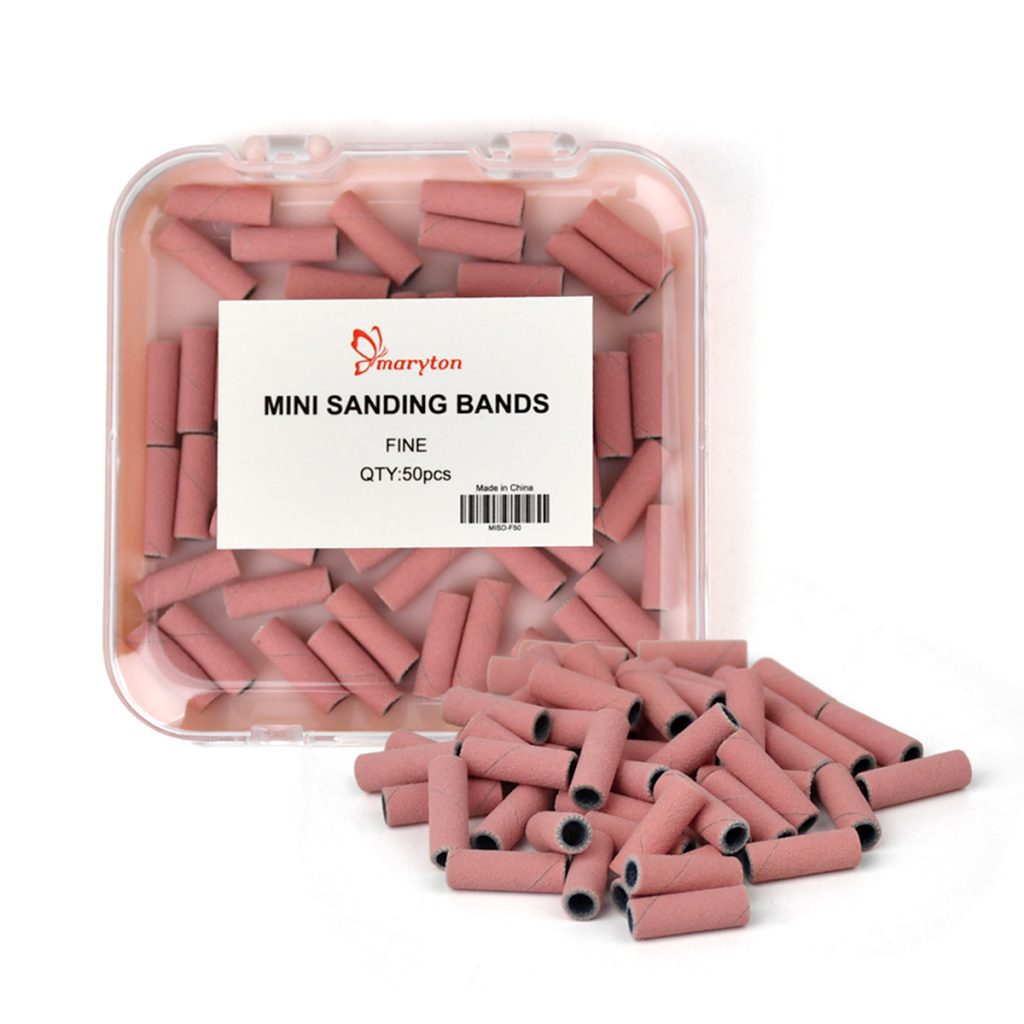
Step 1: Prep your natural nails. Remove old polish, wash your hands, and push back cuticles. Lightly buff the nail surface to remove shine—this creates a rough texture for the adhesive to grip. Wipe with rubbing alcohol to remove oils and dust. Do not apply lotion or cuticle oil before application.
Step 2: Choose the right size. Press-on nails come in multiple sizes. Hold each one over your natural nail to find the best fit. The press-on should cover the nail from sidewall to sidewall without overlapping onto the skin. If you are between sizes, choose the slightly smaller one and gently stretch it during application.
Step 3: Apply adhesive. You have two options: adhesive tabs or nail glue. Tabs are easier and gentler but less durable—good for one-day events. Glue lasts longer (up to two weeks) but requires more careful removal. Apply a thin layer of glue to your natural nail and a small amount to the inside of the press-on. Place the press-on at a 45-degree angle at the cuticle, then roll it down flat. Hold firmly for 15-30 seconds.
Step 4: Press and seal. Press the nail down firmly for at least 30 seconds to squeeze out air bubbles. Pay extra attention to the edges. For extra longevity, apply a thin layer of top coat over the press-on and cap the free edge—this seals the edges and prevents lifting.
Tips to Extend the Life of Your Press-Ons
Apply glue to both surfaces. A thin layer on your natural nail and on the inside of the press-on creates a stronger bond than glue on one side alone.
Avoid water for the first hour. Do not shower, wash dishes, or swim for at least an hour after application. This gives the adhesive time to cure fully.
Wear gloves for chores. Water and cleaning products are the fastest way to loosen adhesive. Protect your investment.
Don’t use your nails as tools. Opening cans or peeling stickers creates lateral pressure that can pop press-ons off.
Carry spare adhesive. Keep a small tube of glue and a couple of spare nails in your bag. If one pops off, you can reapply it in minutes.
Remove gently. Never peel off press-ons. Use the warm water soak method for tabs or the oil soak method for glue.
The Bottom Line
Press-on nails have come a long way from the flimsy drugstore versions of the past. They offer convenience, affordability, variety, and health benefits that traditional salon enhancements cannot match. With proper application and care, a premium set can last up to two weeks and be reused multiple times. Whether you are a busy professional, a nail art enthusiast, or someone who simply wants beautiful nails without the commitment, press-ons are a versatile, damage-free solution that deserves a place in your beauty routine.
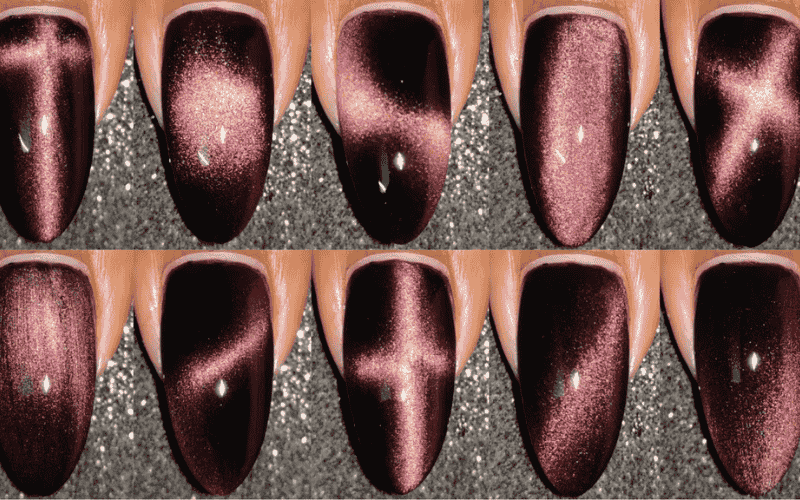
Read also: Cat Eye Nails: The Mesmerizing Magnetic Manicure Trend You Need to Try

One thought on “The Complete Guide to Press-On Nails: Why Choose Them, How to Reuse, and How to Make Them Last”