What Is a Gel Manicure?
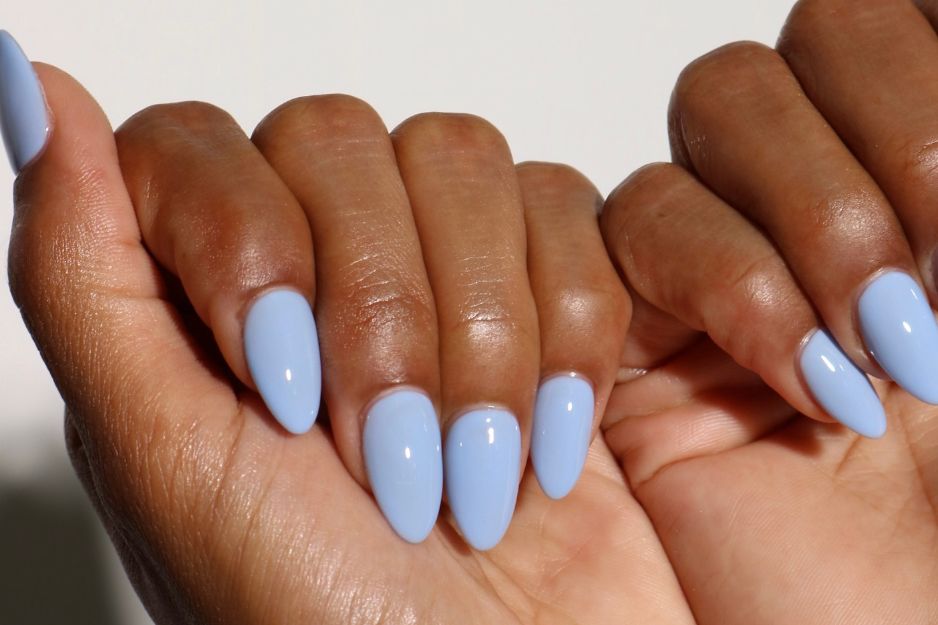
A gel manicure is a type of nail service that uses special gel polish cured under a UV or LED lamp. The light triggers a chemical reaction that hardens the gel into a durable, glossy finish. Unlike traditional nail polish that dries through evaporation, gel polish is completely dry the moment it comes out of the lamp.
The result? Chip-free, high-shine nails that last two to three weeks—far longer than regular polish, which can start chipping within just two to three days. “Gel polishes are comprised of stronger ingredients that grasp the nail tighter than traditional lacquers and are strong enough to stand up to daily wear and tear without chipping,” explains Essie Global Lead Educator Rita Remark.
A gel manicure doesn’t require drying time, so you can walk out of the salon (or step away from your home setup) immediately with flawless, smudge-proof nails. It’s fast, durable, and beautiful—which is why gel has become the gold standard for long-lasting color.
How to Prepare Your Nails at Home?
Great prep is the difference between a gel manicure that lasts three weeks and one that lifts after three days. Proper preparation removes oils, smooths the surface, and creates the perfect canvas for gel adhesion. Here’s exactly what to do.
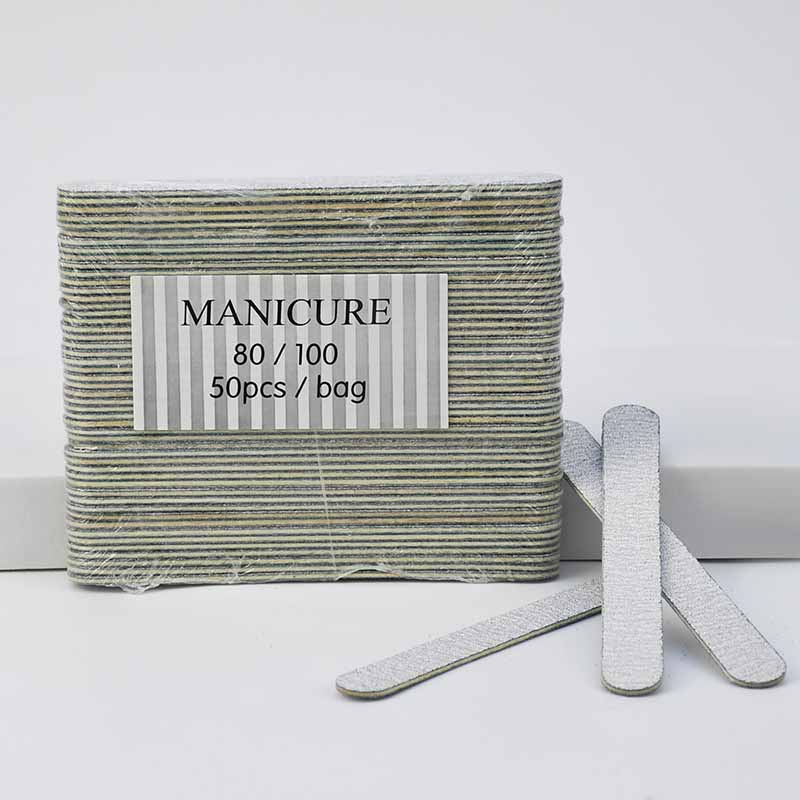
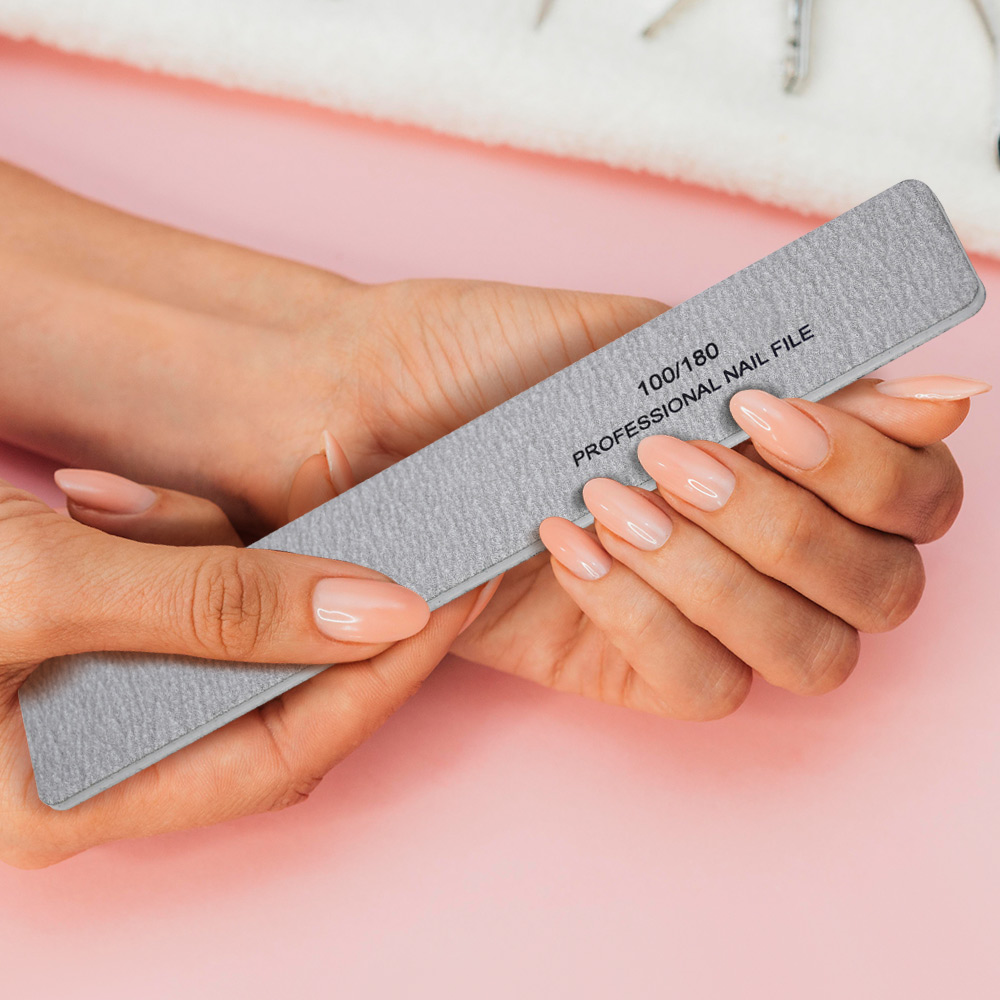
Start by removing any old polish with an acetone‑based remover. Then, trim your nails to the desired length and file them into your preferred shape using a fine grit (180/240 grit) nail file. This creates a smooth edge and prevents snags. Gently push back your cuticles using a cuticle pusher or wooden stick. Lightly buff the surface of each nail to remove natural shine—this creates micro‑abrasions that help the gel grip. However, avoid over‑buffing, as thinning the nail plate leads to weakness. Finally, wipe each nail with an alcohol wipe or nail cleanser to remove all dust, oils, and debris.
Never skip this final cleanse. Dust makes your manicure bumpy, and oils can cause the gel to shrink and reduce wear time. After this step, do not touch your nails with bare fingers—natural oils transfer instantly.
How to Achieve a Gel Manicure Step by Step?
Once your nails are prepped, follow this sequence for a flawless, salon‑quality finish.
Step 1: Apply Base Coat
Apply a thin, even layer of gel base coat to each nail, making sure to cover the free edge (the nail tip). This protects your natural nails from staining and gives the color something to stick to. Avoid getting base coat on your cuticles or skin—any gel on skin will cause premature peeling and lifting. Cure under your lamp: 30–60 seconds for LED, approximately 2 minutes for UV.
Step 2: Apply Color
Apply the first thin coat of gel color, starting just above the cuticle and brushing toward the tip with smooth, steady strokes. Cap the free edge—run the brush along the nail tip—to seal it. Two thin coats deliver better results than one thick coat. Cure for the recommended time after each layer. Thin layers cure more evenly; thick layers can wrinkle, cause heat spikes, or never fully harden.
Step 3: Apply Top Coat
Seal your color with a thin layer of gel top coat, making sure to cap the free edge once more. This final seal provides gloss and protection. Cure fully under the lamp.
Step 4: Wipe and Hydrate
After the final cure, a sticky “inhibition layer” remains. Wipe it away with isopropyl alcohol on a lint‑free wipe to reveal the glossy finish. Finish by applying cuticle oil to each nail and massaging it in. This step hydrates the skin and prevents lifting at the edges.
How to Maintain Your Gel Manicure?
A gel manicure can easily last three weeks when you follow a few simple aftercare rules.
Apply cuticle oil daily. Cuticle oil is the hero of long‑lasting gel nails. It hydrates the nail and surrounding skin, preventing brittleness, micro‑cracking, and lifting at the edges. Massage it in each morning and night, then lock it in with a rich hand cream.
Wear gloves for wet work. Prolonged exposure to water—from dishwashing, cleaning, or long baths—can cause water to seep between the natural nail and the gel, leading to lifting and peeling. A simple pair of waterproof gloves protects your manicure.
Never use your nails as tools. Opening soda cans, peeling labels, or prying open rings stresses the free edge and causes chipping. Treat your nails as jewels, not tools.
Never pick or peel lifted gel. If a corner lifts, gently file the edge smooth and apply a thin layer of clear top coat to seal it until you can properly remove or repair the manicure. Peeling gel strips away layers of your natural nail, leaving it thin, weak, and prone to further damage.
Keep your nails away from harsh heat. Very hot water from dishwashing or long showers can soften the gel and shorten its life. Lukewarm temperatures are gentler on your manicure.
Apply a fresh top coat if needed. If you notice the shine fading after a week, a thin layer of gel top coat can refresh the manicure. Just be sure to cure it properly.
Common Mistakes to Avoid
Gel manicures deliver unmatched longevity and shine—but only when you prepare, apply, and maintain them correctly. Rushing through prep, skipping cuticle oil, or using thick polish layers are the fastest routes to a short‑lived manicure. But with the steps above, you can enjoy two to three weeks of flawless, chip-free color that looks just as brilliant on day fourteen as it did on day one.
And honestly? Waking up day after day to perfect, glossy nails never gets old.
Read also: Nailed It: A Modern Man’s Guide to Hand Care and Grooming

One thought on “The Complete Guide to Gel Manicure: Long-Lasting, High-Shine Nails at Home”